

A Simple, Contractor-Friendly Guide To Floor Trusses Installation
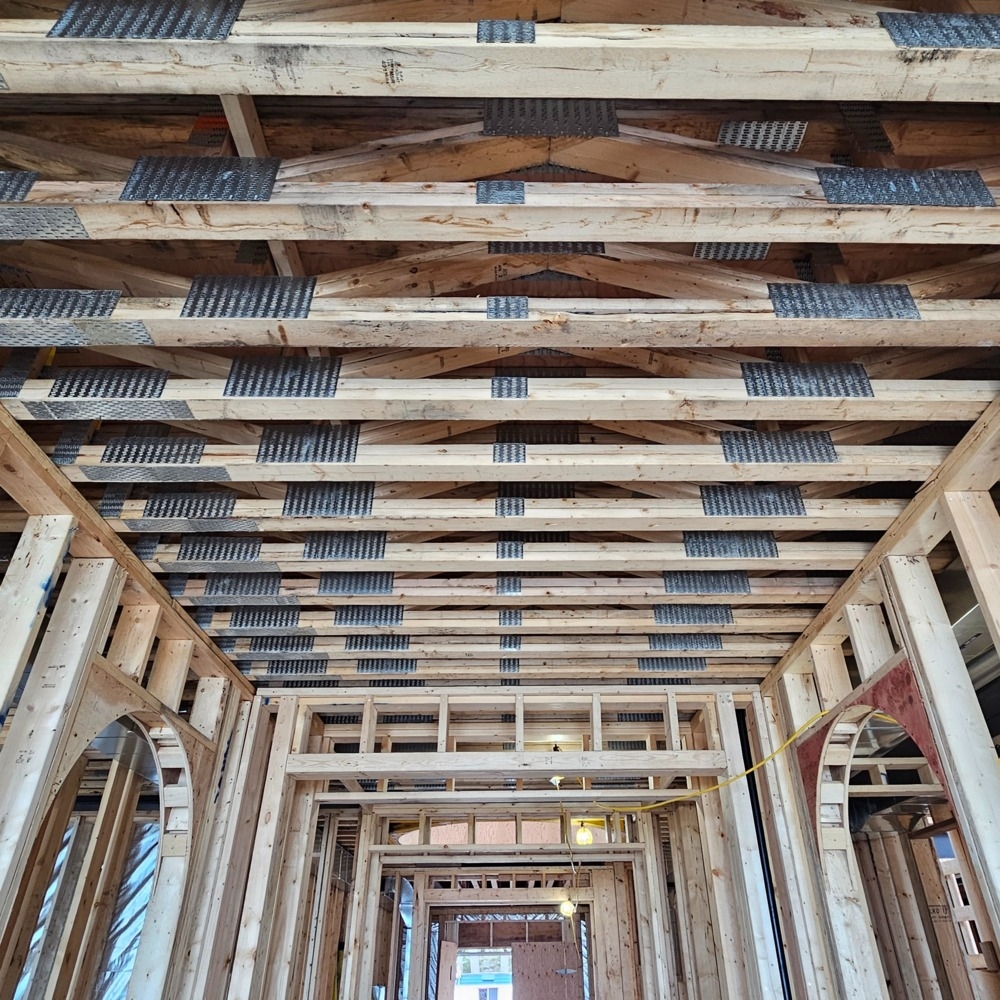
Prefabricated, pre-assembled, and fully capable of accommodating mechanical and electrical installations, floor trusses are a blessing to have on chaotic, fast-moving construction sites. They make the process of laying the foundation of a residential build so much faster and easier. All contractors have to do is handle and install them right once they arrive on site.
Today’s blog from Fonthill Lumber Inc., manufacturers of custom floor trusses in Ontario, is a mini guide on what to do after floor trusses are delivered to a construction project’s location.
How To Handle & Install Delivered Floor Trusses
Floor trusses might arrive ready for installation, but the way they are handled and sequenced ultimately determines how well they are installed. Here is what contractors and builders should do when managing floor trusses onsite:
Inspect trusses upon delivery
The first thing onsite crews must do is check delivered trusses against their project’s plans and orders before unloading. The following should be evaluated:
- The quantity, dimensions, and identification marks of the trusses
- Any signs of damage, including cracks, loose members or connectors, broken members, or noticeable splits
Damaged pieces must be kept aside instead of being sequenced into installation. Installing damaged trusses or attempting unapproved repairs can significantly compromise the entire structure’s performance, potentially leading to a collapse in the future. The manufacturer must be contracted for repairs and replacements.
Unload and store correctly
Careful handling, transfer, and storage of floor trusses is essential for keeping their structural integrity intact. It prevents common issues such as bending, twisting, or damage to the connected members as well. Onsite crews should always follow the manufacturer’s handling instructions diligently. This includes using recommended equipment for lifting and transfers.
In case there is a gap between delivery and installation, trusses must be stored on firm, level supports to prevent ground contact. Elevated storage protects them from excessive moisture exposure while ensuring airflow. Also, keeping them level and aligned prevents damage. No heavy materials should be kept on top of the stack, as they can lead to sagging-related damage.
Prepare supporting structure
Before floor trusses are placed into their final position, builders must confirm that supporting walls, beams, and bearing locations are ready for installation. This ensures trusses get the support they need to stay intact over a long period of time.
Builders must also check the approved floor layout to understand the truss spacing and orientation requirements. Bearing points and required openings must be confirmed as well. Aligning supporting structures with trusses ensures proper load performance. Any discrepancies or misalignment issues should be resolved before installation so they do not cause issues later.
Position floor trusses as per the project layout
Each truss component should be placed exactly in its designated spot as per engineering layouts and manufacturer instructions. Identifications should be checked and oriented accordingly to ensure the right truss component is being installed in the right location. Builders must also make sure they maintain correct spacing as specified in their project’s layout. Truss components are not interchangeable, and trying to do so is bound to affect the project’s performance while leading to costly reworks.
Install bracing and connections
Temporary bracing keeps floor trusses stable and aligned during installation and hence should be used diligently. Once set, permanent bracing can be used to lock in the entire structure in place. Only approved connectors should be used to ensure proper installation.
Check alignment before subflooring
Confirming the truss is fully aligned and installed as per the project’s engineering plans is a good idea before covering it with subfloor materials. This prevents rework and field modifications. Moreover, as long as the entire structure is installed as per its approved layouts, it will be able to easily accommodate mechanical and electrical routes without needing alterations.
Conclusion
A thorough inspection is only the start of floor truss installation. Proper handling and storage followed by accurate positioning, bracing, and connector fastening are all essential steps to ensuring successful installation. However, the most important of them all is ordering trusses from a reliable manufacturer.
Fonthill Lumber Inc., a trusted lumber yard with 75 years of experience in catering to the demands of Ontario construction projects, is also an expert truss manufacturer. Contact us to get custom trusses that meet your project’s requirements without cutting any corners.
FAQs
How long can floor trusses be stored onsite before installation?
While storage duration depends on site conditions, it is best to have floor trusses delivered when the site is ready for installation. This prevents storage-related damage.
Can floor trusses be used for both residential and commercial buildings?
Absolutely. They can be customized and engineered to meet the requirements of all kinds of multi-unit projects, whether residential or commercial.
Who should approve repairs to a damaged floor truss?
A representative from the truss manufacturer should be called on-site to assess the damage, approve repairs, and perform approved repairs if the floor truss has experienced damage.
