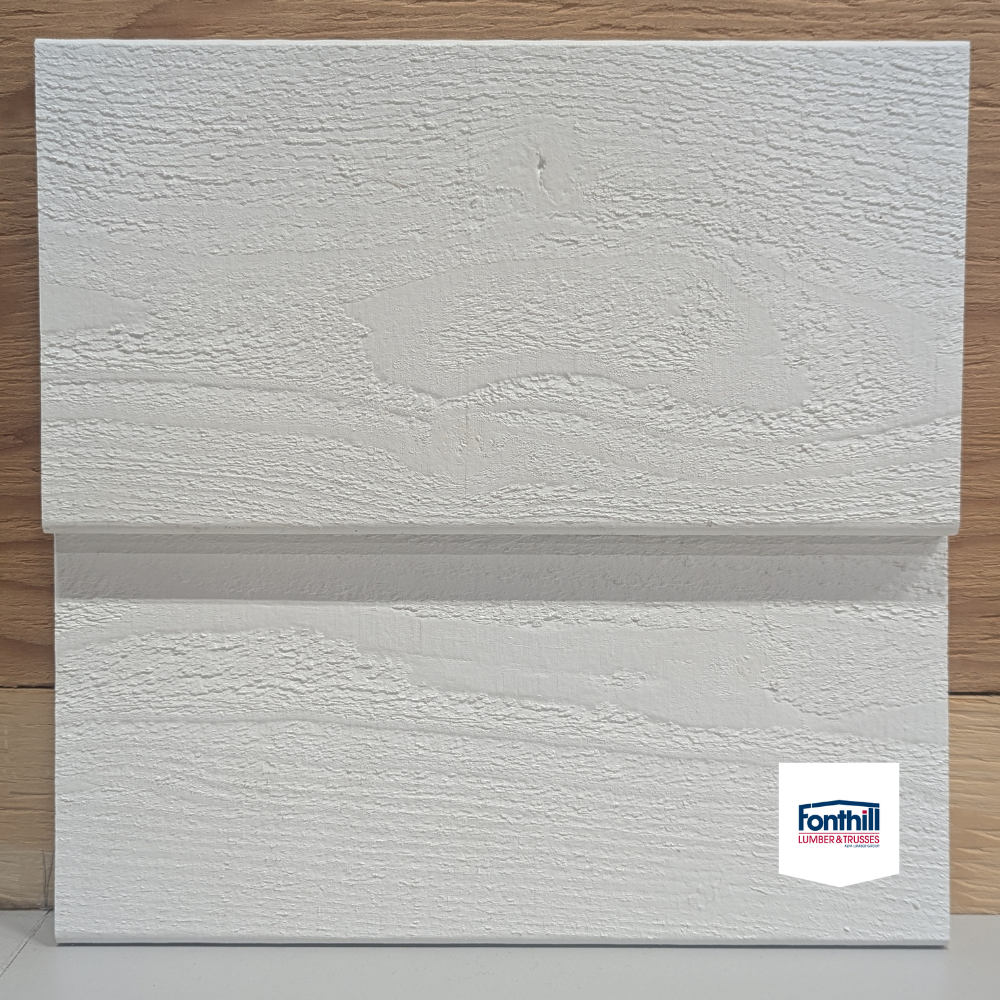
Wood Siding Installation: What Contractors Need To Know

When it comes to enhancing curb appeal, nothing quite beats wood siding. Offering a timeless look, their natural warmth and character instantly elevate the aesthetics of any space. But for them to maintain their appeal, they need to be installed correctly.
For contractors across Ontario, successful installation begins with a single critical step – preparation. Once that’s done, proper fastening and maintaining adequate ventilation around the siding should take center stage.
If you do not know where to begin or need expert installation tips, Fonthill Lumber Inc. is here to help you. Not only do we supply premium siding products, but we also help professionals ensure their installation stands the test of time.
In that spirit, we have prepared a handy guide for you that provides everything you need to know for a smooth and seamless installation process.
How To Install Wood Siding?
To ensure your wood siding installation method is flawless, we suggest following the steps given below:
Step #1: Store and acclimatize the sidings properly
Before you kickstart the installation process, make sure you store the delivered wood siding correctly. This involves keeping the material flat on a stable and even surface in a dry environment that is not exposed to the rigors of the weather.
You should also let it acclimate for at least 48-72 hours onsite. This will prevent instances of post-installation shrinkage. We strongly recommend stacking the siding on spacers or pallets instead of concrete or damp ground. Moisture absorption can ruin the material.
Step 2: Prepare a dry and stable substrate
The foundation of wood siding needs to be solid for it to stick. Make sure the sheathing you use underneath it is flat and fastened securely. We also suggest applying a weather-resistant barrier on the sheathing to protect it against moisture. You can use building paper or a house wrap in this regard.
If your installation is located in a snow or rainfall-prone zone like Ontario, use a rainscreen system to enable drainage behind the siding. This small step will protect your siding against moisture damage in the long run, thus extending its lifespan.
Step 3: Select your fasteners carefully
Corrosion, staining, and premature failure are consequences of choosing the wrong fasteners. Follow these fastening practices for the best results:
- Use hot-dip galvanized or stainless steel nails only. These will not react with the tannins that natural wood siding contains.
- Avoid electro-galvanized nails at all costs. These are prone to rusting when affixed outdoors.
- When hammering nails into the wood, ensure they penetrate at least 1¼ inches into the sheathing or the framing. This creates a stable connection.
- Ensure nails sit flush with the surface of the siding. Overdriving leads to a poor connection, while countersinking can damage the wood.
If you want to keep your siding as secure as possible, consider fastening at the thickest part of its profile. It gives the board ample space to expand naturally.
Step 4: Create space for ventilation
Ventilation is an often-overlooked factor during siding installation. However, it is critical to extend its lifespan. Without ventilation, moisture exposure is inevitable, and so is damage in the form of rotting, molding, and cupping.
The best way to prevent moisture accumulation is to use a vented rainscreen system behind the siding. You can also use vertical furring strips. Each of them allows for proper air circulation, which in turn keeps moisture build-up at bay.
Step 5: Pre-finish for added endurance
If possible, pre-finish your wood siding with either primer, paint, or a sealant on all sides before you install it. It is a simple yet effective way to protect the wood from moisture and uneven weathering. Alternatively, you could also order pre-primed or pre-finished siding to save yourself the hassle.
Conclusion
As daunting as it may seem, installing wood siding is a fairly simple process. As long as you are well-prepared, use the right materials, and fasten with precision, you are bound to achieve perfectly professional results.
If you are looking for wood siding products that are built to last, we can help you. Fonthill Lumber Inc. is a well-known supplier of wood products such as siding, moulding, trusses, and more across Ontario. Contact us to get premium, durable, and weather-resistant solutions for your next project.
FAQs
What is the best time of the year to install wood siding in Ontario?
We strongly recommend installing wood siding during spring or early fall. The weather is dry, which means wood expansion is unlikely. It also facilitates the curing of adhesives and finishes.
Can fresh wood siding be installed over an existing one?
While it depends on the substrate used, installing fresh siding on a pre-existing one is not ideal. It is better to remove old siding so the new one gets a flat and even surface to hold onto.
Once installed properly, how long does wood siding last?
If installed correctly, high-quality wood siding sourced from a reliable supplier such as Fonthill Lumber Inc. can last anywhere between 30 and 50 years.


